Getting Started#
Point your browser to http://iot49.org to load a list of available tools and a short description. Click on the icon to activate a particular tool.
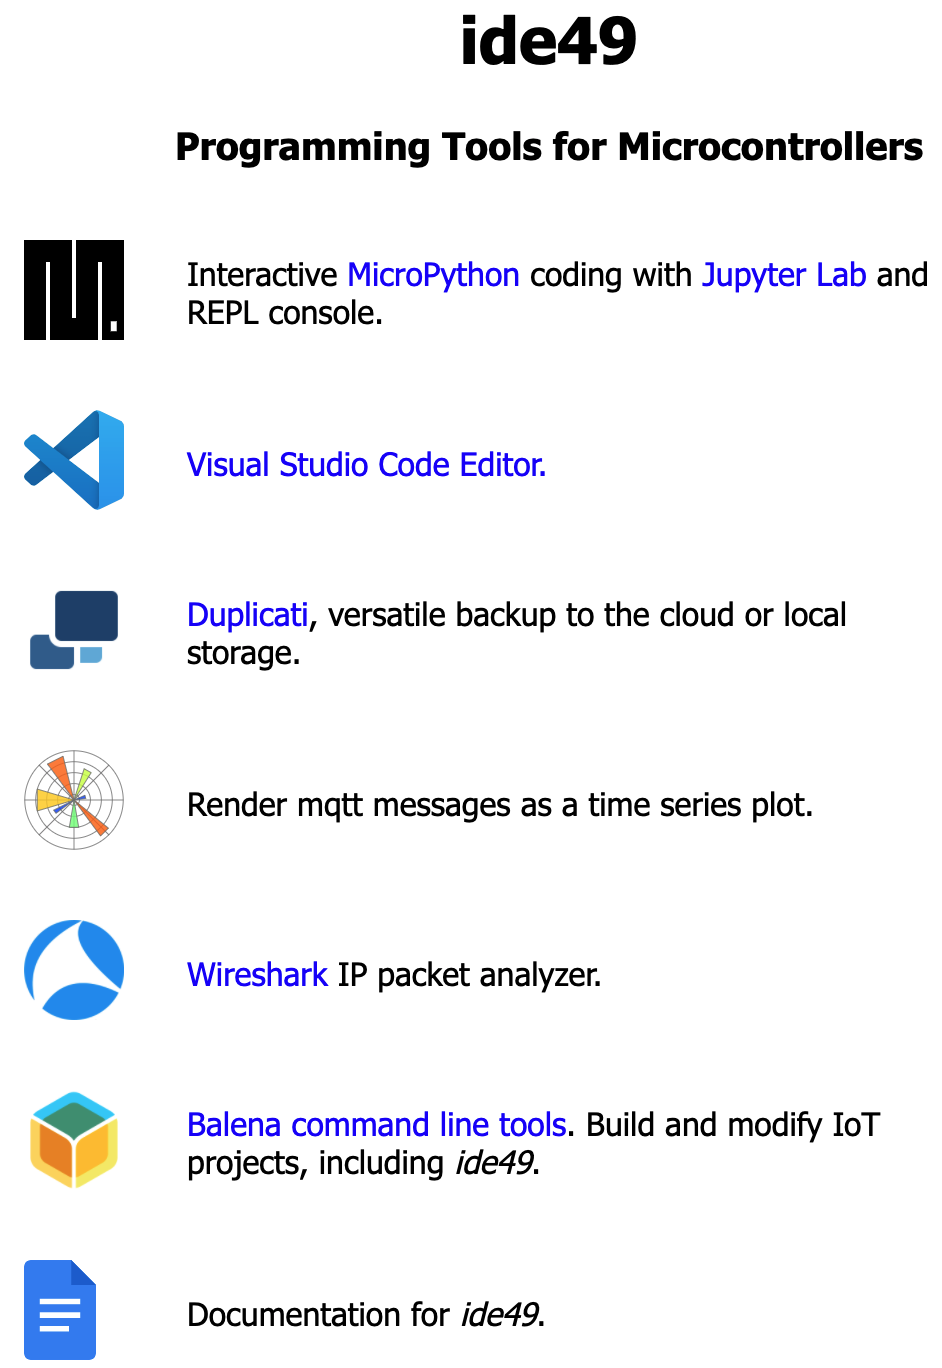
Fig. 4 iot49 homepage#
We’ll start with a demonstration of MicroPython programming with ide49. Click the MicroPython icon (the black “M”). You will get a warning similar to:
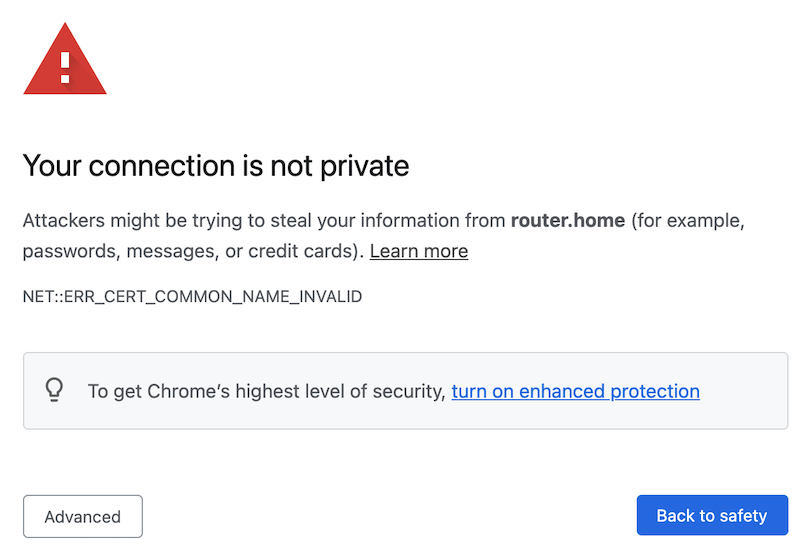
Fig. 5 Browser warning about self-signed certificate#
The warning is a bit misleading. It simply means that while all traffic is encrypted the certificate used for authentication is not signed by an official authority and hence the browser cannot vouch for its validity. The page https & certificates has more information and explains how to tell the browser about the certificate and eliminate the warning.
Click “Advanced” and then “proceed anyway”.
At the login window, enter the default username and password (both iot49; instructions for changing).
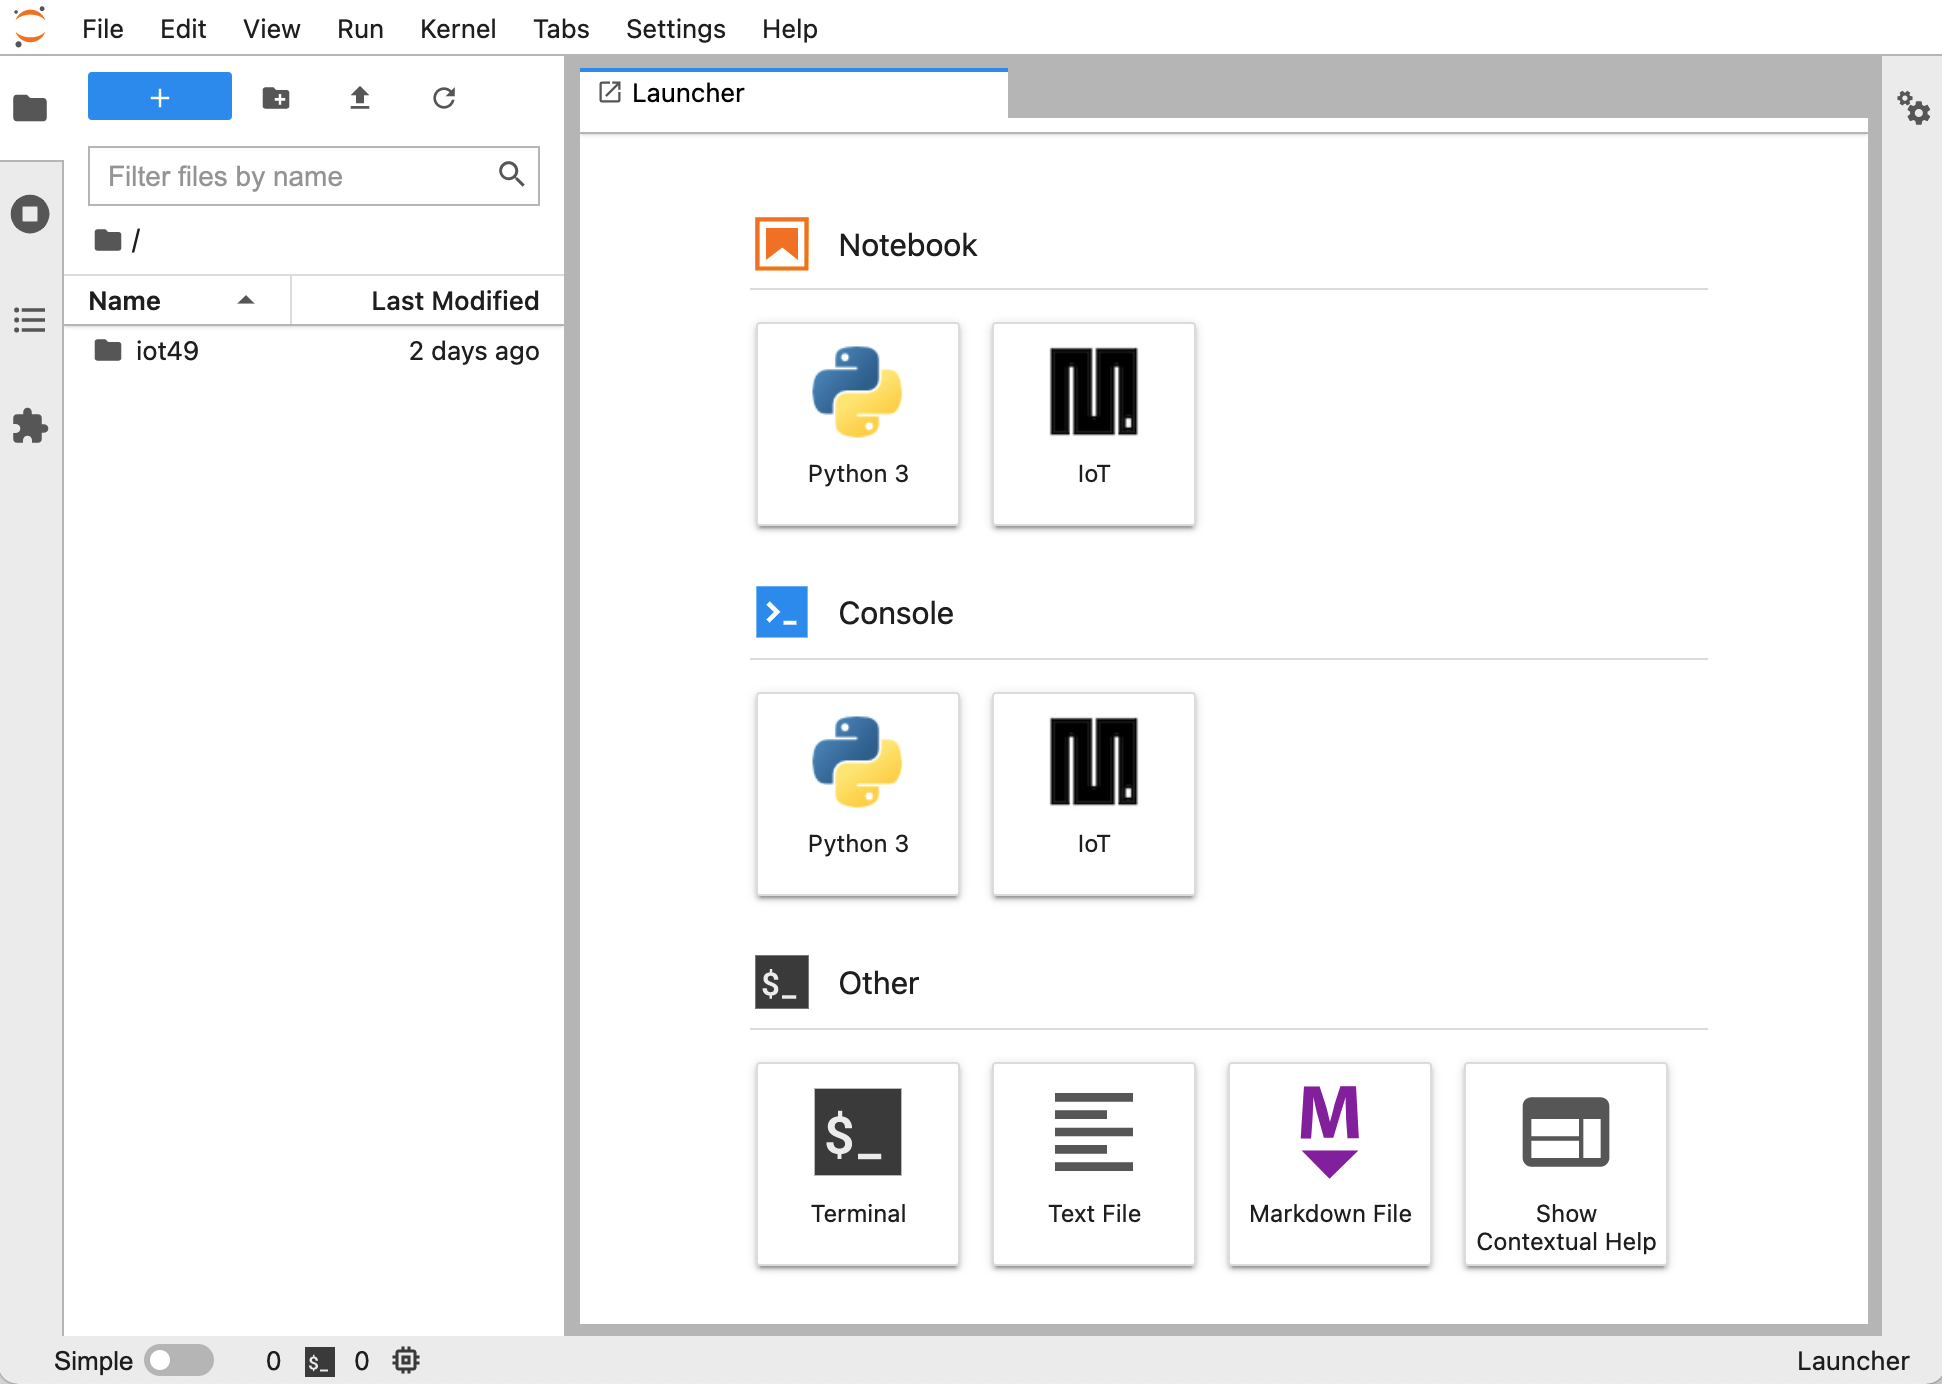
Fig. 6 Jupyterlab with IoT Kernel for MicroPython programming#
What you see is a “standard” Jupyter Lab environment. Jupyter is a versatile environment for programming with Python (and other languages). The left pane is a file browser. The main window shows available tool. Under the Notebook heading, Python 3 (ipykernel) is for programming on the host while IoT is used for MicroPython. Under Other, Terminal is a bash console, and can be used for example to access the MicroPython REPL. The other icons are for creating new files of various types. Peruse online documentation and tutorials for more information about Jupyter Lab.
MicroPython Kernel#
Click on the IoT icon (the one under Notebook, not Console) to create a new notebook. Connect a microcontroller running MicroPython to an USB port on your computer.
Before we can evaluate code on the microcontroller, we need to connect it to the notebook. Use the %discover magic (Jupyter kernels use special directives beginning with %) to find the port to which it is connected. Then press shift-enter to evaluate.
%discover
50:02:91:a1:a7:2c serial:///dev/ttyUSB0
Apparently the microcontroller is connected to /dev/ttyUSB0. The hex string 50:02:91:a1:a7:2c is a identifier (UID) of the device. It’s unique, that is it will differ for your microcontroller (MicroPython instruction machine.unique_id()). The IoT Kernel uses these id’s to unambiguously distinguish between devices. This avoid confusion if you have several.
Now connect to this microcontroller using another magic (update the id in the statement below to match your device):
%connect 50:02:91:a1:a7:2c
Connected to 50:02:91:a1:a7:2c @ serial:///dev/ttyUSB0
Now we can run Python code:
print("Hi from MicroPython, 2**16 =", 2**16)

import sys
print("platform =", sys.platform)
Hi from MicroPython, 2**16 = 65536
platform = esp32
Platform esp32 is a pretty strong indicator that we are indeed executing on the microcontroller and not on the host.
Actually, let’s try to evaluate this code on the host. For this we use another magic, %%host.
%%host

import sys
print("platform =", sys.platform)
platform = linux
Naming devices#
The string 50:02:91:a1:a7:2c is great for computers. But just as we prefer to call friends by their names rather than social security number, it sure would be nice if we could refer to our devices by meaningful names.
Fortunately it is easy to associate the device with a “name”, by saving this information to a file in folder $IOT_PROJECTS/devices. The %%writefile magic does this for us:
%%writefile $IOT_PROJECTS/devices/pico.yaml
pico:
    uid: 50:02:91:a1:a7:2c
Again, you’ll need to change the hex string to match your device. pico is the name of my microcontroller, chose a different one if you like. The file name, pico.yaml is of no importance, except that it must have extension yaml and be located in $IOT_PROJECTS/devices/ to be found.
Avoid creating multiple declarations for the same UID, or giving the same name to different microcontrollers.
We also could have used an editor to write the file. Find the file in the file browser and click on it. This will open it in the editor.
Now we can refer to our microcontroller by it’s name:
%connect pico

for i in range(5):
    print("{:4d}^20 = {:20d}".format(i, i**20))
Connected to pico @ serial:///dev/ttyUSB0
   0^20 =                    0
   1^20 =                    1
   2^20 =              1048576
   3^20 =           3486784401
   4^20 =        1099511627776
Interrupting Long Computations#
To stop a running program, choose Kernel->Interrupt Kernel from the menu bar or click the little square in the toolbar.
import time

print("This is going to take a loooong time. Better to stop execution now!")
for i in range(1e9):
    time.sleep(0.1)
    print('.', end='')
This is going to take a loooong time. Better to stop execution now!
.........................
Interrupted
Shutdown and Restart#
If you want to power off your device, don’t just pull the power cord. Although BalenaOS takes many precautions to avoid corruption of the flash memory (e.g. SD Card), bad things can happen. Also do not use cheap no-brand or ultra-high capacity SD Cards, those are prone to failure.
To safely shut down, execute this code:
!curl -X POST --header "Content-Type:application/json" \
    "$BALENA_SUPERVISOR_ADDRESS/v1/shutdown?apikey=$BALENA_SUPERVISOR_API_KEY"
Now you can remove power. Depending on the device, reapplying power may be sufficient to boot back up, but you may also need to press a button.
This instruction restarts the device:
!curl -X POST --header "Content-Type:application/json" \
    "$BALENA_SUPERVISOR_ADDRESS/v1/reboot?apikey=$BALENA_SUPERVISOR_API_KEY"
You do this for example after making changes to the device configuration.
Next Steps#
The documentation has many examples of programming with ide49, as well as instructions for configuring the IDE (e.g. changing the password). You will also find examples for flashing new MicroPython binaries to your microcontrollers and compiling (custom) versions if MicroPython - all right from within ide49. For the adventurous there is even a section on the ide49 docker app, and how to modify it.
If you run into problems or find a bug (never), head over to the section Issues in the documentation.
Happy coding!